
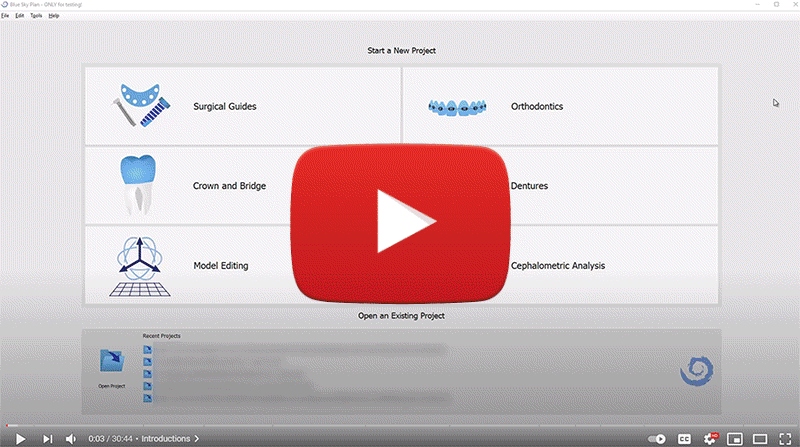
Learn Blue Sky Plan in 15 Minutes
If the patient has a significant amount of metal restorations in their mouth
Wizard Process Flow
Importing a Stone Model
Follow along in Blue Sky Plan on Your Own Computer
Let's Go


1
Blue Sky Plan is an advanced full featured treatment planning software for computer guided surgery and can be downloaded from BlueSkyPlan.com.
Blue Sky Plan allows all users to design and fabricate surgical templates for all guided surgical kits and all implant systems.
The software and software update are
distributed FREE of charge.
Exporting a designed surgical guide to an STL file for 3d printing starts at $12.50 per case.
To take advantage of the powerful treatment planning software the minimum recommended requirements are 16GB of RAM on the computer, 2GB of RAM on the Video card and an intel i7 processor or comparable.
3
2


After downloading and installing the software complete the registration form and press
“Submit Form”
Within a few seconds of pressing the submit button a notification will appear confirming that the software has been registered successfully.
CT Scan the patient.
If the patient has metal restorations in their mouth, the patient should be scanned with an impression and attached markers in their mouth to confirm a perfect alignment.
In such a situation make sure to use the impression inversion protocol instead of an STL model.
Optically scan a stone model to create an STL file of the relevant jaw.
Open the blue sky plan treatment planning software and press the start wizard button.
4
5
6
7
8


9
10
11
From the drop down lists, select the option to import a Model STL and the relevant guided surgical kit.
Select the folder containing the CBCT patient files and press the okay button. The shortcut buttons on the top of the screen can be used for quick navigation. The software can load compressed DICOM files, uncompressed DICOM files as well as zipped CT scans.
Grab and drag the yellow border lines to reduce the field of view and define the area of interest. Reducing the field of view better utilizes your computer’s resources and enlarge the relevant anatomy in the software views.
Press the okay button.
12
13
14
15


For a Maxilla case, press the “maxilla” button on the top the screen. For Mandible cases Left click once on the entrance of the right mental foreamen to have the nerve drawn automatically. Press the “next” button.
Use the slider under the 3D to raise the density threshhold and remove scatter if needed.
Press the “next” button.
Left click once on the entrance of the left metal nerve to have the left nerve drawn automatically. If necessary, click the step name found at the top middle of the screen to redo the relevant step.
Press the next button.
Navigate to the location of the scanned model file and press the okay button.
Hold down the shift key and left click to every other tooth in each of the scans.
The teeth can be marked in any order.
Once the teeth have been marked press
the next button
View the aligned model outline in the various views to confirm that the outline is wrapped tightly around existing teeth. If the alignment needs to be improved, press the previous button, mark additional teeth and then once again confirm model alignment.
Press the next button after model alignment has been confirmed.


16
17
18
19
20
21
22
23
24
25
26
27
28
29
30
31
32


Press select implant to select the desired implant to be placed together with the virtual tooth.

Left click to select the correct virtual tooth in the location of the missing tooth. Select the relevant size, small, medium or large to represent the size of the desired virtual tooth.
Hold down the shift key and left click to select multiple virtual teeth if needed.


Select the desired implant and relevant jaw type to be placed with the virtual tooth. Press the okay button.

Left click in any view to place the implant and virtual tooth in the desired location.
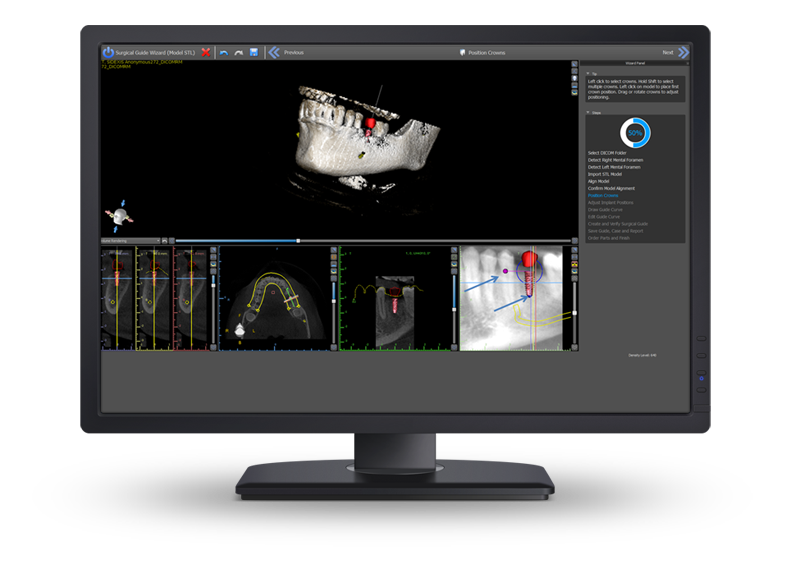


Use the left mouse button to grab and move the implant and virtual tooth to the ideal location. A rotation widget will appear around the tooth and implant and can be used for rotation. The dots that appear next to the virtual tooth can be used to resize the tooth.
Press the next button upon completion.
Now, use the left mouse and rotation widget to fine tune just the implant placement without affecting the placement of the tooth.
Press the next button.
The brown software guide tube represents the exact location and size that will exist in the printed surgical guide.
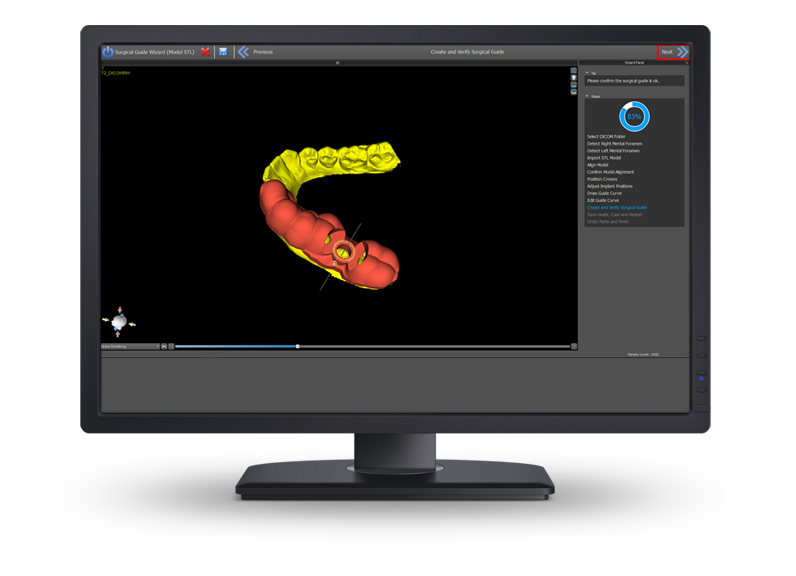
Hold down the shift key and drag the left mouse button to define the area for surgical guide fabrication.
Release the shift key and use the left mouse button to rotate the model as needed and press the shift key again and left drag to resume drawing the curve.
As usual click on the wizard step name to restart the wizard stage, if needed.
Draw the entire curve and close the loop by returning to the original start position and press next.
Grab and drag any of the nodes that appear along the surgical guide curve to fine tune the curve positioning and to straighten any crossed segments.
Press the next button.
In order to save the file of the surgical guide to your computer for 3D printing you are required to buy export credits. If you do not have export credits the software will prompt you automatically and payment can be made via paypal or credit card directly in the software and the software will update automatically.
Case fees are between $12.50 and $23 per case depending on quantity of exports ordered.
Select the desired number of exports and then press the buy button.
The hole in the surgical perfectly aligns with the software guide tube and the implant vertical axis passes through the center of the software guide tube.
Review the surgical guide and then press the next button.
Select a location on your computer to save the treatment plan, drill report and Surgical guide.
Press the okay button.
Complete the approval form if you are going to be sending the case or the digital surgical guide for surgical guide fabrication.
Use biobigbox.com, blue sky bio’s HIPAA compliant file transfer system to send the treatment plan or the surgical guide to a dental lab or any email address. If you do not yet have a biobigbox account, create one free at biobigbox.com by entering your email and creating a password.
Send the case or the exported surgical guide to any email address or to one of the labs included in the drop down list.
The Blue Sky Bio website will open with the relevant metal cylinder and other relevant Blue Sky Bio parts added to the shopping cart.


33

Choose from the on screen options to start
a new case or to close the wizard